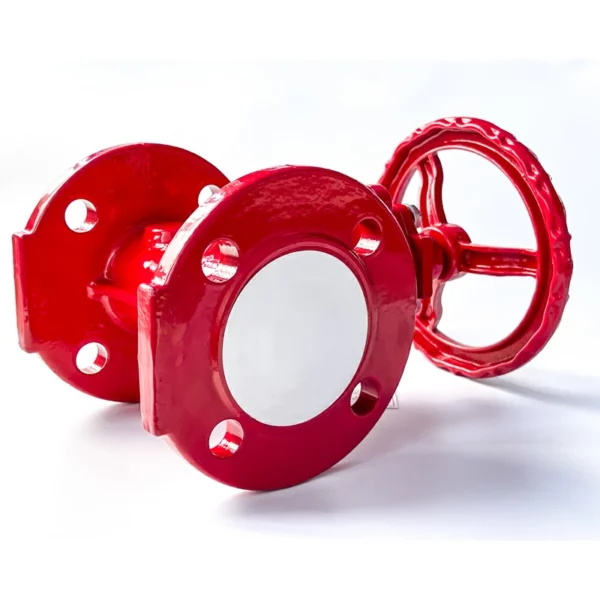
How can installation of 4 inch Knife Gate Valve?
The installation of a 4 inch knife gate valve typically involves the following steps:
Preparation:
Gather all the necessary tools and equipment for the installation, including the knife gate valve, flange bolts, gaskets, and any other required accessories. Ensure that the valve and its components are in good condition and free from any damage or defects.
Safety Considerations:
Prioritize safety during the installation process. Follow appropriate safety guidelines, wear personal protective equipment (PPE), and ensure the work area is clear and secure.
Positioning:
Determine the desired location for the knife gate valve in the pipeline system. Ensure that there is enough clearance around the valve for operation, maintenance, and potential future repairs. Position the valve in alignment with the pipeline.
Flange Alignment:
Align the flange connections on the knife gate valve with the corresponding flanges on the pipeline. Ensure that the flange bolt holes on both sides are properly aligned.
Gasket Placement:
Place a gasket on each side of the valve between the flange faces. The gasket helps to create a tight and leak-free seal. Ensure that the gasket is properly sized and compatible with the fluid and pressure conditions.
Bolt Installation:
Insert the flange bolts through the bolt holes on one side of the valve and align them with the corresponding bolt holes on the flange of the pipeline. Hand-tighten the bolts initially to hold the valve in place.
Tightening the Bolts:
Gradually and evenly tighten the flange bolts in a crisscross pattern. This ensures an even distribution of the tightening force and helps establish a secure and leak-free connection. Use an appropriate torque wrench to achieve the specified torque values recommended by the valve manufacturer.
Valve Operation and Testing:
After the knife gate valve is securely installed, ensure that it operates smoothly. Check the valve’s functionality by opening and closing it to verify proper operation. Conduct a leak test to ensure that the valve is effectively sealing the pipeline and there are no signs of leakage.
Documentation and Maintenance:
Keep a record of the knife gate valve installation, including any torque values used, gasket specifications, and other relevant details. Establish a regular maintenance schedule for the valve to ensure its long-term performance.
It’s important to note that these steps provide a general overview of the installation process. The specific procedures may vary depending on the manufacturer’s instructions, the design of the knife gate valve, and the requirements of the particular application. Always refer to the manufacturer’s installation guidelines and consult with professionals or experts if needed to ensure proper installation and optimal performance of the 4-inch knife gate valve.